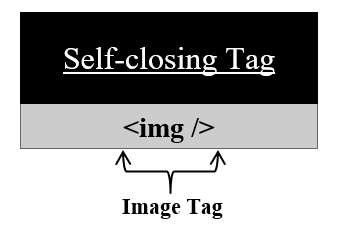
To represent HTML pages beautifully and to explain content, we use images for that. Our ability to comprehend complex things is aided by visual representations to do that we use images.

Syntax:
<img src= "…image's path…" />
<img src="images/profile_picture" />
NOTE: If we want to find the location of our image. Right-click on your image -> Go to properties -> Check location in the properties.
<img src="images/profile_pic" alt="Testing Image" />
NOTE: If we want to find the location of our image. Right-click on your image -> Go to properties -> Check location in the properties.
<img> tag uses the height or width attribute to set the height or width of an image. Values for height or width attribute must be in pixel or percentage and value should be placed in double quotes otherwise we can see an error.
For example:<img src="image.png" alt="Image Description" width="300" height="100" />
NOTE: This method was used earlier. The styling is now handled by CSS. We can style our image using CSS properties. We can give height, width, border, alignment, etc. to our images. To learn more about styling check our CSS tutorial.
Refer to the video to understand clearly: