
Just like we used different methods to assign colours to the text, we play with backgrounds as well. Let’s look at a few properties.
<style>
    syntax: {background: color;}
</style>
The colour assignment is exactly similar to how we did for the text previously.
Often websites add stylish images as a background to make the website look more beautiful. This can be achieved by using the background-image property.
To use it, just assign the background-image with the URL of the image you want to use. Here’s an example.
For Example :-
<style>
    background-image: url("CSS\ image.png")
</style>
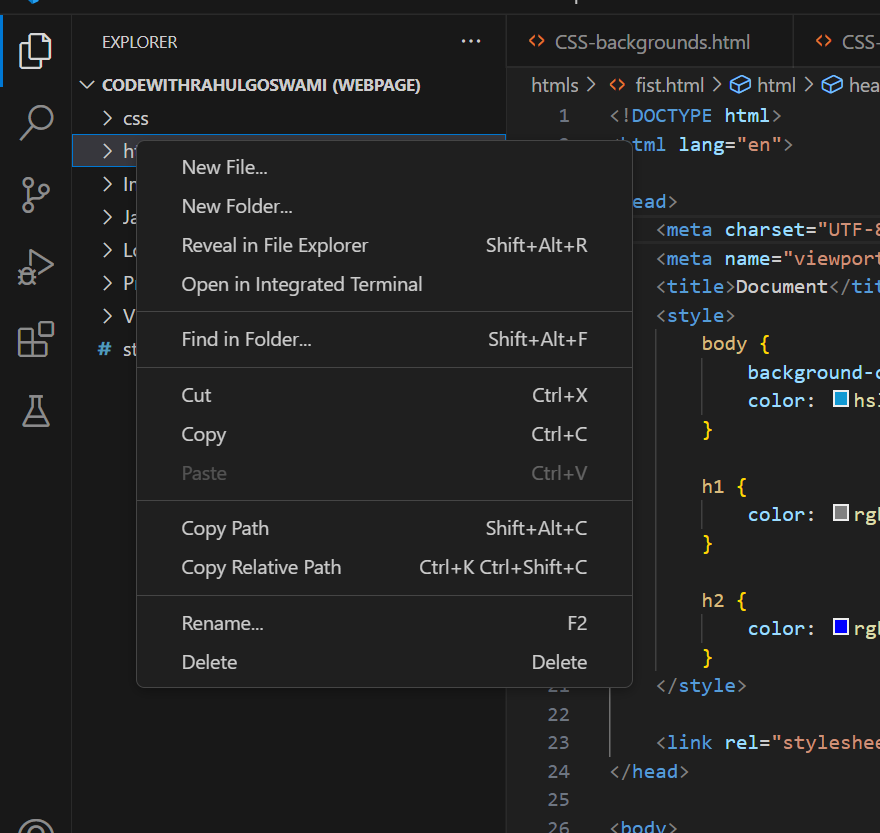
So, before going to the output some of you must be wondering how to write the location of the file, well with the VS code you can just right-click the file and select the path.
Here’s an example to give you clarity on the RGB colour scheme.
Sorted? Now, this is the image I would be using for the output. Just try to pay attention, the output of this code is going to shock you.
Normally you would expect the image to be displayed once as the background of the website, right? But that’s not how things work in CSS.

This is the output of the code written above; CSS repeats the image on both the x and y axis to avoid empty spaces being left due to the image dimensions. To solve this we will look at the next background property.
<style>
    background-repeat: repeat-x;
</style>

<style>
    background-repeat: repeat-y;
</style>

<style>
    background-repeat: no-repeat;
</style>

<style>
    syntax: background-size: cover;
</style>
Output :

2. Contain: Fits the image according to its original dimensions.
<style>
    background-size: contain;
</style>
So, the image I chose had a very small dimension and thus this output is very much obvious.

3. Auto: This is the default size of the image which we saw using the “no-repeat command”.
Note: All commands listed have been used with no-repeat property, so if you are getting a different output it could be due to that.
Apart from these three, you can manually set the width and height of the background image, as you wish it to be. Here’s a small overview, try running them in your code editor for more clarity.
1. Equal width and height
<style>
    background-size: 100px;
</style>
This command will assign the same value to both the width and height of the background image.
2. Distinct width and height
<style>
    background-size: 100px 150px;
</style>
This property sets the starting position of the background image. By default, the position is the top left corner of the website, but using CSS we can change it.
Example:-
<style>
    background-position: top right;
</style>
Output:

Note: Note: While using the “bottom right/left” as a value, you'll see the background image disappearing from the main screen. This is because we have been using the image directly in the body. Creating different divisions will fix this problem.
This property determines what happens to the background image on scrolling. Sometimes we just want the background to remain the same even if we scroll down the page. In that case, we can use this property.
Example:-
<style>
    background-attachment: fixed;
</style>
After using this the image gets fixated on the screen.
We all love shortcuts right, and remembering these many properties isn’t convenient as well. So, for that, we use shorthands to write everything in a single line.
Example:-
<style>
    background: purple fixed url('CSS\ image.jpg') no-repeat right top;
</style>
Output:
